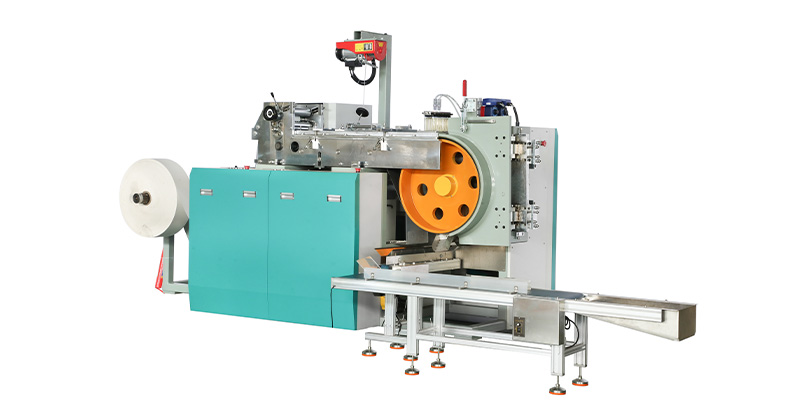
A paper lunch box does not begin at the forming machine. It begins with the paperboard roll, passes through printing and die cutting, and only then reaches the forming station where the flat blank becomes a three-dimensional container. Each step sets a condition for the next. This guide follows that sequence and explains what each stage contributes to the finished box.
1. Paperboard Preparation: What the Box Needs Before Printing
Paper lunch boxes are commonly made from 200–600 g/m² paperboard, including uncoated cardboard, coated paper, and corrugated paper. The choice depends on the food contact requirement, grease resistance, structural strength, and printing plan.
Before printing, the paperboard needs to be conditioned. Temperature and moisture imbalance can cause the sheet to curl or crack at the score line during forming. For coated paper, the coating side and the uncoated side behave differently under heat and glue. The production plan should define which side faces the food and which side receives the adhesive.
Corrugated paper adds another variable. The flute direction affects how the blank folds. If the flute runs across a crease line, the fold may crush or crack. The die-cutting layout must account for flute orientation.
2. Printing: Registration and Its Effect on the Fold
Printing is usually done on the flat sheet before die cutting. The critical requirement is not only color accuracy but registration to the eventual die-cut line. A printed panel that shifts by 1–2 mm relative to the crease line will produce a visually misaligned box, even if the forming itself is correct.
For food packaging, the ink system also matters. The printed area should not interfere with the glue bonding zone. If adhesive is applied over a heavily inked or varnished surface, the bond strength can drop. The production layout should reserve unprinted margins at the glue flaps and seam areas.
3. Die Cutting and Creasing: Where the Flat Blank Is Defined
Die cutting converts the printed sheet into a flat blank. This step determines the final box dimensions, panel layout, lock tabs, and crease positions.
Creasing is the part of die cutting that is often underestimated. A proper crease does not simply press a line into the board. It compresses the fibers at a controlled depth so the board folds without cracking the coating or delaminating the corrugated layer. For coated paperboard, the crease line must be aligned with the coating's flexibility. A crease that is too shallow causes the coating to crack at the fold. A crease that is too deep weakens the corner.
The die-cutting layout also defines the glue flap width. A flap that is too narrow provides insufficient bonding area. A flap that is too wide may interfere with the box's internal dimensions or the closing mechanism.
4. Forming: From Flat Blank to Three-Dimensional Container
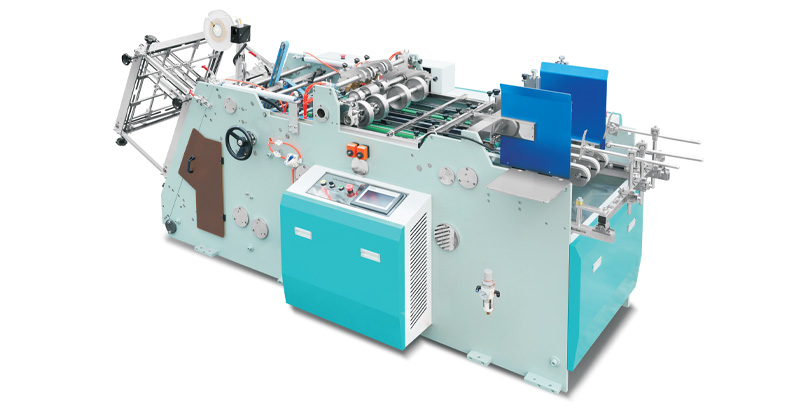
The forming stage is where the die-cut blank becomes a box. A typical automatic paper lunch box machine performs the following sequence:
- Blank feeding: vacuum suction picks individual blanks from the stack.
- Scoring and pre-folding: the blank passes through scoring stations that reinforce the crease lines before the main fold.
- Glue application: adhesive is applied to the designated flaps and seams.
- Mold pressing: matched top and bottom molds close to create the three-dimensional shape.
- Hinge or lock formation: for clamshell or lock-bottom styles, additional folding and locking steps are performed.
The forming pressure and mold alignment must match the blank's crease pattern. If the mold is set too loose, the box will not hold its shape after ejection. If it is too tight, the paperboard may be crushed at the corners. The correct setting is usually established during commissioning with the actual paper grade and then recorded for repeat orders.
5. Glue Application and Sealing: The Bond That Holds the Box
Paper lunch boxes are typically sealed with either cold glue or hot melt adhesive. Cold glue is water-based and bonds through absorption and evaporation. Hot melt is applied molten and sets within seconds.
The process choice affects the upstream layout. Cold glue requires a drying or curing zone before the boxes are stacked. Hot melt allows faster stacking but adds a heated system and a different maintenance routine. The glue flap design, the paper coating, and the production speed must all be compatible with the chosen adhesive. If the glue is applied too far from the crease line, it can squeeze into the food-contact area or create a visible stain.
6. Quality Control: What to Check at Each Stage
Quality control in paper lunch box production is not a single final inspection. It is a sequence of checks tied to the process steps.
| Stage | What to check | Why it matters |
|---|---|---|
| Paperboard receipt | Grammage, coating uniformity, moisture | Prevents curl and crease cracking |
| After printing | Registration to die line, ink adhesion | Avoids misaligned panels and weak glue zones |
| After die cutting | Crease depth, flap dimensions, cut edge quality | Determines fold accuracy and seam strength |
| After forming | Box squareness, corner integrity, glue position | Affects stacking, closing, and leak resistance |
| After sealing | Bond strength, glue overflow, open time | Prevents box failure during use |
A box that passes the final visual check may still fail in service if the crease was cracked or the glue flap was undersized. That is why the checks are tied to the process, not only to the finished product.
7. What Changes When the Box Style Changes
The overall sequence remains the same, but the process emphasis shifts by box style.
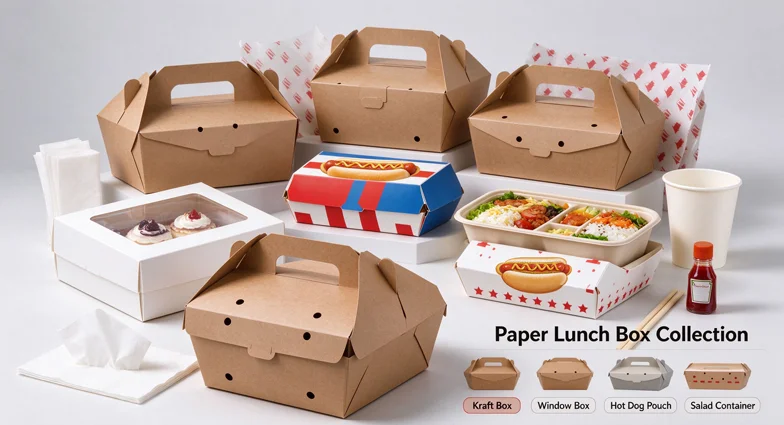
- Flip-top and clamshell boxes: hinge formation and repeated open-close durability are critical. The crease at the hinge line must withstand cyclic folding.
- Boat-shaped and fold-over boxes: the folding sequence and panel overlap determine the seal. Glue placement is more critical than mold pressure.
- Window boxes: the window film is usually applied before or during die cutting. The film must not interfere with the crease or the glue zone.
- Lock-bottom boxes: the interlocking tabs must be cut to tight tolerance. A small dimensional deviation can prevent the bottom from locking or cause it to release under load.
If you are evaluating which style fits your production plan, the paper lunch box machine applications page shows how each structure is configured.
8. Where the Process Meets the Machine Decision
Understanding the process makes the machine decision clearer. The die-cutting layout, crease pattern, and glue flap design are not machine settings; they are production inputs. The machine must be configured to run the blank that results from those upstream decisions.
If you are at the stage of matching a process plan to a forming configuration, you can review the available paper lunch box machine configurations or send a box sample and paper specification for a process review.
FAQ
What is the first step in paper lunch box production?
The first step is paperboard preparation: confirming grammage, coating, moisture condition, and flute direction if corrugated paper is used. Printing and die cutting follow, and forming is the final shaping stage.
Why does crease quality matter in paper lunch boxes?
A properly formed crease allows the paperboard to fold without cracking the coating or delaminating the corrugated layer. A poor crease leads to corner failure, visual defects and weak seams.
Is glue applied before or after forming?
Adhesive is applied to the die-cut blank's flaps and seams immediately before or during the forming sequence, depending on the machine configuration. The glue must be placed accurately to bond the box without contaminating the food-contact surface.
How is quality controlled in paper lunch box production?
Quality control is staged across the process: incoming paperboard checks, print registration checks, die-cut crease and flap checks, forming squareness and glue position checks, and final bond strength verification.
Does the production process differ for different box styles?
The basic sequence is the same, but the critical control points shift. Hinge durability matters more for flip-top boxes, glue placement matters more for fold-over boxes, and dimensional tolerance matters more for lock-bottom boxes.
Can the same machine run different box styles?
Yes, with the appropriate mold and forming configuration. The die-cut blank design and the machine's mold set must match the specific box structure.
Conclusion
Paper lunch box production is a sequence of dependent decisions. Paperboard condition affects printing and creasing. Crease quality affects forming. Glue placement affects sealing. Each stage sets the limit for the next. Before comparing machines, map the process for your specific box style, paper grade, and glue system. That process map is the most reliable basis for a machine recommendation.
If you have a box sample or die-cut drawing and want to confirm the process route, send your specifications to our technical team for a practical review.